Aromatherapy Essentials Guide: Massage Oils, Carrier Blends & Candle Safety
You want the calm, not the headache. You want touch that actually soothes, and a candle that smells beautiful without smoking out your living room. This guide shows you how to pick and blend safe massage oils, and how to choose (or make) candles that burn cleanly. Expect plain language, tested ratios, and simple checklists. Aromatherapy sits in the “nice-to-have” corner of wellbeing, but safety and quality matter. We’ll keep you on the right side of both.
TL;DR and what you’ll get done
Key takeaways
- Pick a carrier oil for your skin first; add essential oils at 1-3% total for adults (2% is the sweet spot for most). Source: Tisserand & Young, Essential Oil Safety (2nd ed.).
- Phototoxic citrus (like expressed bergamot) can cause sun reactions on skin. Use steam-distilled citrus or avoid sun for 12-24 hours after use.
- For candles, wax and wick matter more than marketing. Soy/rapeseed blends with the right wick burn cleaner; trim to 5 mm every time.
- Essential oils in candles need lower loads (often 3-6%) and careful temps. Follow your wax maker’s guidance and cure times.
- Safety isn’t optional: check allergen info (UK CLP), ventilate rooms, and keep flames away from drafts, kids, and pets.
Jobs you’ll complete here
- Choose the right carrier oil for your skin and massage style.
- Blend a safe, good-smelling massage oil with clear ratios.
- Buy or make a candle that burns clean and actually scents a room.
- Troubleshoot common fails: greasy skin, weak scent throw, tunneling, soot.
- Set up a minimal aromatherapy kit that just works.
Massage oils: carriers, safe dilutions, and blends that work
Start with the base. Your carrier oil does most of the feel-work: glide, absorption, and skin comfort. Then add essential oils for aroma and mild therapeutic support.
Pick a carrier oil that fits your skin
- Sweet almond: classic glide, vitamin E, mid-weight. Watch for nut allergies.
- Fractionated coconut (MCT): light, non-greasy, long shelf life, clear. Good for warmer rooms and deep tissue work.
- Grapeseed: light, sinks in fast, great for combination skin. Shorter shelf life; store cool.
- Jojoba: technically a wax ester, very stable, mimics skin sebum. Lovely for face, pricier.
- Sunflower (high oleic): budget-friendly, mild scent, good slip.
- Apricot kernel: gentle, nice for sensitive skin. Mind stone-fruit allergy history.
Heuristic: if skin runs dry, go richer (sweet almond, jojoba). If skin runs oily or you dislike residue, go lighter (fractionated coconut, grapeseed).
Allergy and sensitivity checks
- Nut/seed allergies: avoid almond, hazelnut, or any known trigger. Use fractionated coconut, jojoba, or sunflower instead.
- Patch test: a small amount of finished blend on inner forearm, wait 24 hours.
Safe dilution rules you can trust
- Adults (healthy skin): 2% total essential oils is standard. That’s 10-12 drops per 30 ml (1 oz) of carrier.
- Sensitive skin, elderly, pregnancy: 0.5-1% total. Check oil-specific cautions. NHS and professional aromatherapy bodies advise caution in pregnancy.
- Local spot work (short term): up to 3% if skin tolerates and IFRA limits allow.
- Children: avoid using undiluted essential oils; under 6s need specialist guidance-when in doubt, skip essential oils on young kids.
Formula you’ll actually use: desired % × carrier volume (ml) = ml of essential oil. 1 ml ≈ 20 drops (this varies by oil, but it’s a handy start). Example: 2% of 30 ml = 0.6 ml ≈ 12 drops total.
Phototoxic citrus warning
- Expressed bergamot, lime, bitter orange, and some lemons can increase sun sensitivity. Either use steam-distilled versions, keep to very low dilutions, or avoid UV on treated skin for 12-24 hours. Guidance based on Tisserand & Young and IFRA Standards.
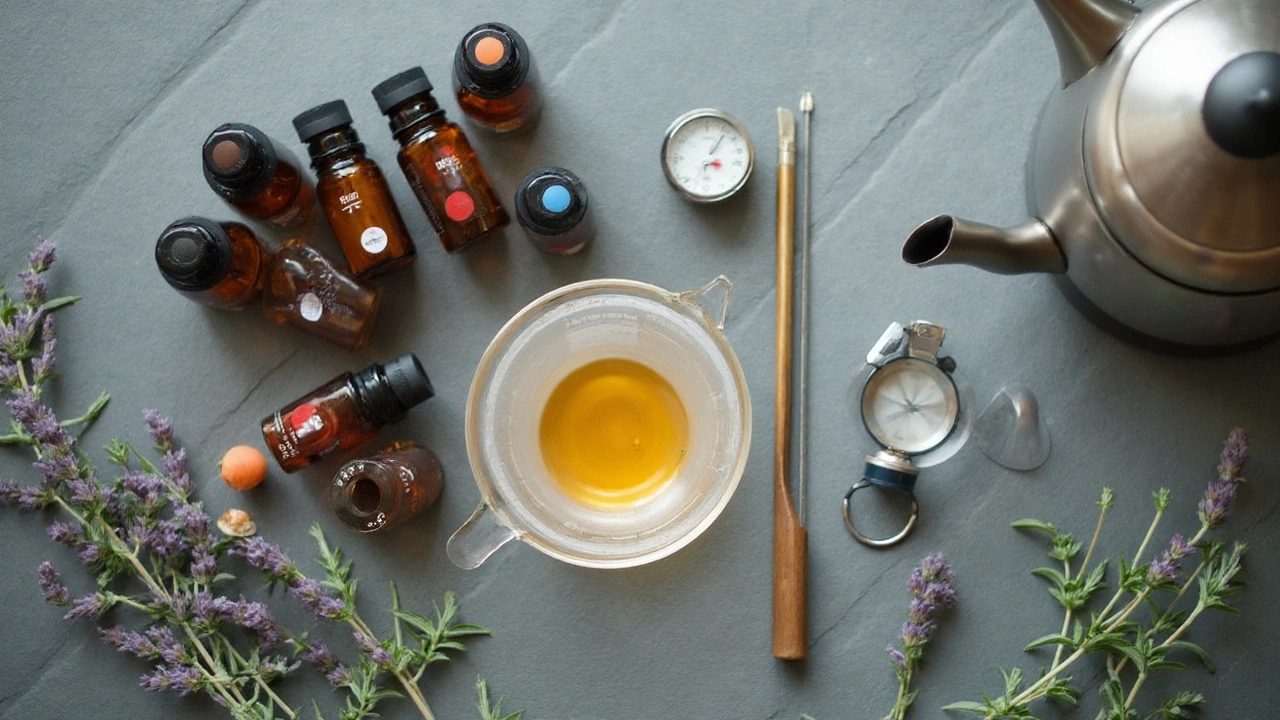
How to blend, step by step
- Pick a 30 ml amber glass bottle with a pump or flip-top.
- Pour in carrier oil first (use a small funnel).
- Add essential oils next, counting slowly. Aim for 10-12 drops total for 2% in 30 ml.
- Cap and roll between palms to mix. Label: blend name, oils, date, and %.
- Patch test. If skin prickles or reddens, dilute further or stop use.
Starter essential oils that earn their keep
- Lavender (Lavandula angustifolia): calm, sleep support, skin-friendly. Small clinical studies show it can lower perceived anxiety in short-term use.
- Peppermint (Mentha x piperita): cooling, helps when muscles feel tight; avoid near eyes and during late pregnancy; can irritate some skin types.
- Sweet orange (Citrus sinensis): bright, comforting; generally low-risk and non-phototoxic. Great in evening blends.
- Frankincense (Boswellia carterii/serrata): grounding, resinous, blends well with citrus and woods.
- Eucalyptus radiata: fresher, softer than globulus. Skip for very young children. Can feel opening when stuffy.
Use fewer oils and better ratios. Two or three notes often smell cleaner than a 10-oil kitchen sink.
Massage oil recipes (30 ml / about 2 tablespoons)
- Sleep blend (2%): 30 ml sweet almond + 8 drops lavender + 4 drops sweet orange.
- After-gym soothe (2%): 30 ml fractionated coconut + 6 drops peppermint + 4 drops lavender + 2 drops frankincense.
- Calm focus (1.5%): 30 ml jojoba + 5 drops frankincense + 3 drops sweet orange + 1 drop rosemary ct. verbenone (skip rosemary if pregnant).
- Comforting uplift (1% for sensitive): 30 ml sunflower + 4 drops sweet orange + 2 drops lavender.
If you’re new, start at 1% and increase only if your skin and nose say yes.
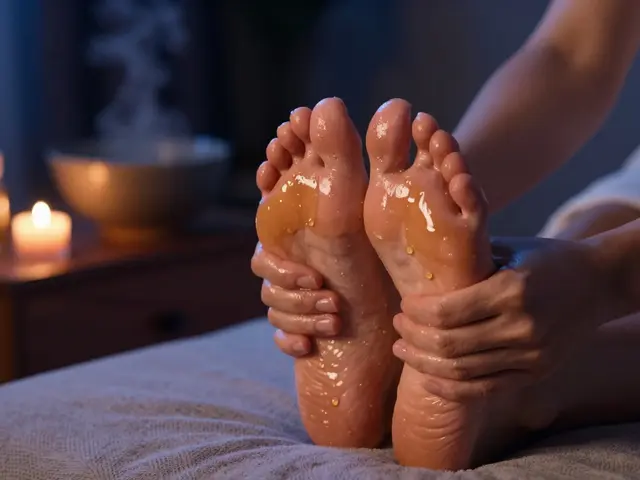
How to use massage oil well
- Warm a teaspoon of oil between hands; test on your forearm first.
- Use long, slow strokes toward the heart for relaxation; shorter, firmer strokes on muscle bellies for tension. Avoid deep pressure over joints, varicose veins, or recent injuries.
- Skip massage with fever, active skin infections, or if you’re on blood thinners without medical guidance. When unsure, ask a GP.
Storage and shelf-life
- Keep blends in a cool, dark place. Many carriers last 6-12 months; jojoba often lasts longer.
- Add 0.5% vitamin E to help slow oxidation (optional).
One last thing: never put essential oils neat on skin. Dilute every time. That includes “just a drop” on wrists.
By the way, this is where the core keyword lands naturally: if you want less guesswork with aromatherapy massage oils, use the 2% rule, pick one carrier that suits your skin, and keep blends simple.
Candles: wax, wick, scent throw, and safe use
A good candle is a small science project. The wax, wick, fragrance, and jar all have to play nicely. When they do, you get steady flame, a clean melt pool, and a scent that fills the room without clobbering your nose.
Wax options in plain English
- Soy: common, budget-friendly, good scent throw when wicked right. Needs a cure time (often 1-2 weeks).
- Rapeseed (canola) or soy-rapeseed blends: popular in the UK, stable, smooth tops, often good cold and hot throw.
- Coconut blends: creamy look, nice throw, often pricier, good glass adhesion.
- Beeswax: natural honey note, long burn, subtle throw with essential oils; great unscented too.
- Paraffin: strong throw and vivid glow; soot is more about wick size and airflow than the wax itself. Quality paraffin with proper wicking can burn very clean.
Reality check: “Natural” doesn’t automatically mean cleaner. Wick size, fragrance load, and your room’s airflow drive soot and smoke more than the wax label. UK industry guidance and testing back this up.
Essential oils in candles vs fragrance oils
- Essential oils can smell gorgeous cold but fade when hot. Many also have low flash points.
- Typical essential oil load: often 3-6% by wax weight. Start low; some oils (citrus, florals) struggle in wax.
- Fragrance oils are made for candles, tested for stability, and follow IFRA usage limits. They usually throw better.
If you want an “all-EO” candle, pick forgiving oils (lavender, peppermint, fir needle, lemongrass) and accept a gentler throw. Follow your wax maker’s recommended pour and fragrance temperatures.
Wicks: the tiny lever that decides everything
- Trim to 5 mm before every burn. This reduces mushrooming and soot. Source: BS EN 15493/15494 safety icons used across the UK/EU.
- Too small a wick: tunneling (a skinny melt pool, wasted wax).
- Too large a wick: smoky flame, flicker, big mushroom, overheated jar.
- Rule of thumb: match wick to jar diameter and wax type, then test. If tunneling after a 2-3 hour burn, go one wick size up; if smoky, go down.
- Wood wicks: lovely crackle, need proper size and trimming with your fingers or a wick trimmer.
Burn like you mean it: safe, clean, consistent
- First burn sets “memory.” Burn 2-3 hours so the melt pool reaches the edges.
- Keep away from drafts; dancing flames = soot and poor throw.
- Never leave unattended. Keep 10 cm between candles, and 30-50 cm from anything flammable.
- Use a stable, heatproof surface. Stop burning at ~1 cm of wax left to avoid glass overheating.
- Ventilate. If anyone gets a headache or coughing, snuff the candle and open windows. NHS notes that some people with asthma are sensitive to strong fragrances and smoke.
Buying tips (UK context)
- Look for CLP labelling (GB CLP). It lists hazards and allergens like limonene or linalool when relevant.
- Small makers who share wax type, wick type, and burn instructions tend to care about testing. That’s a good sign.
- For very small rooms, pick lighter scents or unscented beeswax; heavy gourmand scents can feel cloying.
Making your own? Keep it simple
- Choose a tested container wax (e.g., soy/rapeseed blend). Check the maker’s data sheet for pour temp and max fragrance load.
- Weigh wax and fragrance. For 200 g wax at 4% load, use 8 g of essential oil blend.
- Melt wax gently. Add essential oils below the recommended add-temp to limit flash-off (often 60-65°C for soy; follow your wax sheet).
- Stir for 2 minutes, pour slowly, tap to release bubbles.
- Let cure: soy usually 7-14 days. Test burn with a trimmed wick for 2-3 hours.
Never add essential oil to a burning candle. That’s a fire risk and a lung irritant. RoSPA and fire services say the same.
Recipes, checklists, FAQs, and fixes
Quick massage oil recipes (10 ml / about 2 teaspoons)
- Desk neck release (2%): 10 ml grapeseed + 3 drops lavender + 1 drop peppermint.
- Sunday reset (1%): 10 ml jojoba + 2 drops sweet orange + 1 drop frankincense.
- Pre-sleep feet rub (1%): 10 ml sunflower + 2 drops lavender.
Conversion cheat: 5 ml = 1 teaspoon; 10 ml = 2 teaspoons; 30 ml = 2 tablespoons.
Minimal aromatherapy shopping list
- 1 carrier oil that suits your skin (fractionated coconut or sweet almond).
- 3 essential oils: lavender, sweet orange, peppermint.
- Two 30 ml amber bottles with caps or pumps.
- Labels, a funnel, and a patch-test mindset.
- A wick trimmer and snuffer for candles.
Candle buying checklist
- Wax type shown (soy/rapeseed/coconut/beeswax/paraffin) and wick info.
- CLP label with allergens and safety icons.
- Clear burn instructions (first burn 2-3 hours, trim to 5 mm).
- Realistic scent notes (not “air purifying” claims).
DIY candle test checklist
- Burn time: 2-3 hours per test session.
- Melt pool: reaches edges by hour 2 on first or second burn.
- Flame: steady, not taller than 2.5 cm, no heavy mushrooming.
- Room: no strong drafts; windows cracked for ventilation.
- Soot: minimal. If glass rims darken, trim wick shorter or wick down.
FAQ
- Can I use olive oil as a carrier? Yes, extra light olive oil works, but it’s heavier and more scented. Many prefer fractionated coconut or sunflower for glide.
- Which essential oils are phototoxic? Expressed bergamot is the big one; also expressed lime, bitter orange, some lemons. Steam-distilled versions reduce the risk. Follow IFRA limits.
- Are essential oils safe in pregnancy? Keep blends low (0.5-1%) and avoid certain oils (e.g., high ketone oils, some sages). If you have any complications, check with a midwife/GP. NHS advises caution with strong fragrances in general.
- My candle tunnels. Fix? Burn longer on the first burns, move away from drafts, or upsize the wick one step. Wrap foil “collar” as a rescue, but wick sizing is the real fix.
- No scent throw from my EO candle. Why? EO load too low, wrong wick, poor cure, or room too large. Increase within wax limits, cure longer, or blend in a small amount of candle-safe fragrance oil that complies with IFRA.
- Headache from candles-now what? Ventilate, trim the wick, reduce burn time, or switch to lighter scents or unscented beeswax. People with asthma can be sensitive to smoke and strong fragrance (NHS).
- Can I massage with candle wax? Only with candles made for massage (they use skin-safe oils and low temps). Don’t use standard candles on skin.
Troubleshooting quick wins
- Massage oil feels greasy: switch to lighter carriers (fractionated coconut, grapeseed) or reduce total oil used per session.
- Skin redness after use: stop, rinse with plain carrier oil first (not water), then wash with mild soap. Reblend at 0.5-1% and avoid known irritants.
- Candle smokes: trim wick, move away from drafts, or wick down.
- Candle drowns: wick up a size or reduce fragrance load slightly. Check that you’re not over-wicking with heavy oils that clog.
- Uneven tops in soy candles: raise pour temp a bit or use a heat gun for a quick top pass after cooling. Cosmetic fix only.
Evidence and safety references you can look up
- Tisserand & Young, Essential Oil Safety (2nd ed.) for dermal limits and phototoxicity.
- IFRA Standards for fragrance and essential oil usage restrictions.
- GB CLP Regulation for UK candle/allergen labelling.
- NHS guidance on fragrance sensitivity and pregnancy caution with complementary therapies.
- RoSPA and BS EN 15493/15494 for candle fire safety icons and best practice.
Next steps
- Make one 30 ml massage blend at 1-2% and use it for a week. Note how your skin and mood respond.
- Choose one well-tested candle (clear CLP label, wick info) and learn its burn rhythm. Keep a wick-trimming habit.
- Keep a tiny scent journal: what you blended, how many drops, and how it felt in the room. This builds your personal “dilution chart” faster than guessing.
Aromatherapy is simple when you respect the ratios, listen to your skin, and test your candles like a pro. Keep the kit small, the math clear, and the flame tidy. The calm will follow.


About Author