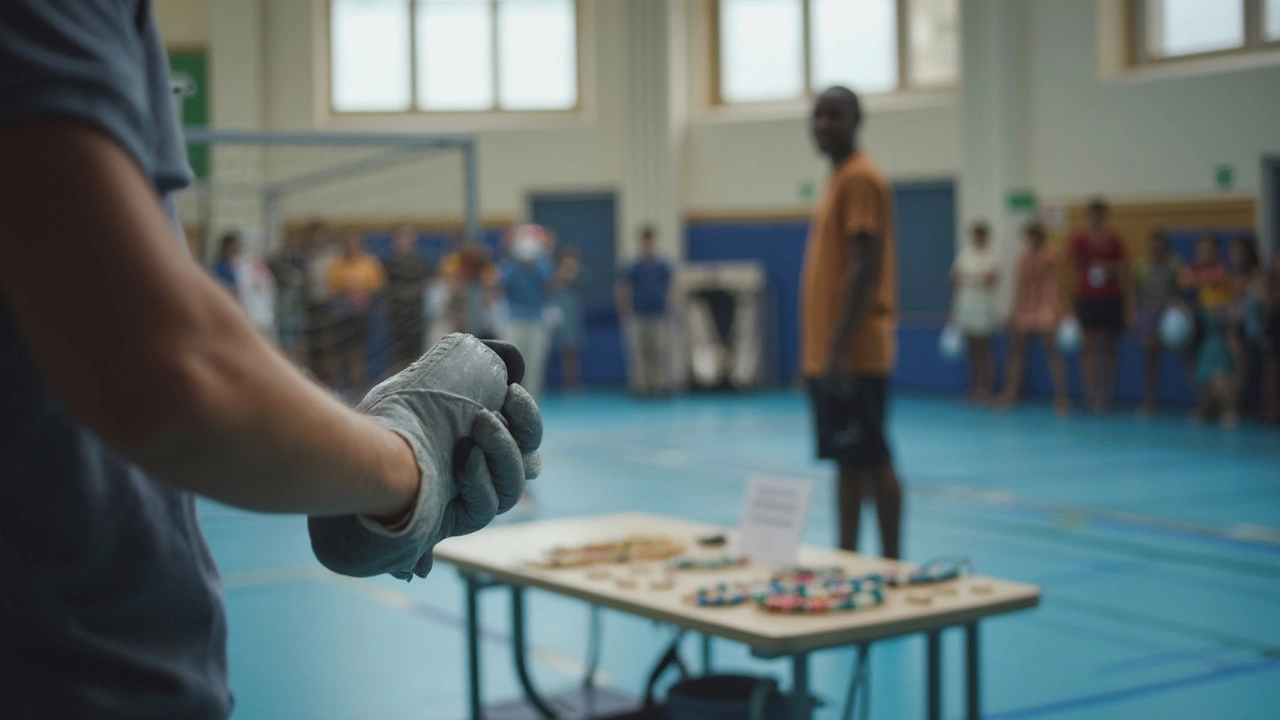
You want a simple, safe way to learn a traditional throwing club that actually flies straight and hits where you aim. You also don’t want to disrespect the culture it comes from or end up hurt-or in trouble. This guide gives you the full picture: what a rungu is, how to hold it, how to swing and throw it with control, drills that make you better fast, and how to look after it. I’ll also flag safety and UK legal notes so you can train without stress.
A rungu isn’t a toy. It’s a cultural object used by Maasai and other East African communities for ceremony, status, herding, and historically for defense. Treat it with the same respect you’d give a fencing sword or a hurling stick. We’ll focus on training use-accuracy, form, and conditioning-first. Power comes after control.
TL;DR / Key takeaways
- Start light (350-500 g) and short (30-40 cm) to protect your shoulders and learn clean mechanics.
- Grip: thumb locked along the handle, pinch with index/middle fingers, wrist neutral; swing from hips, not just arm.
- Throw with a step and whip: load on your back foot, step forward, hip turn, then release at eye level toward your target.
- Train accuracy first. Hit a dinner-plate target at 5 m before you add distance or speed.
- Respect the object and the culture; train on private ground, follow UK offensive weapon laws, and use safety zones.
Jobs-to-be-done
- Understand what a rungu is, the types, and how to choose a safe trainer.
- Learn a step-by-step technique for gripping, swinging, and throwing.
- Get drills and a practice plan that actually builds skill.
- Set up a safe training space and avoid common injuries.
- Care for the wood and know when to repair or replace.
- Have quick answers to likely questions (laws, distances, targets, mistakes).
What a rungu is, types, respect, and setup
Quick context helps you train right. In East Africa, the rungu (also called knobkerrie or war club in some contexts) is a hardwood club with a round or oval head and a straight handle. Some are sized and balanced to fly well; others are heavier for close work and ceremony.
Typical materials: acacia, olive wood, or similar dense hardwood. Museum records (for example, the Smithsonian National Museum of African Art catalog and Kenya National Museums accessions) list lengths from roughly 30 to 60 cm and weights commonly between 300 and 700 g. The head is usually denser than the handle to move the balance forward, which aids stable flight.
Types you’ll see:
- Compact trainer: 30-40 cm, 300-500 g; safer, easier to control, good for beginners and indoor drills.
- Thrower: 40-55 cm, 400-650 g; shaped for cleaner release and flight.
- Heavier ceremonial/defense form: 50-60+ cm, 600-900 g; not ideal for beginners to throw.
Respect and ethics: If you bought a handmade rungu, learn who made it and how it’s used. Don’t sand off carvings or repaint culturally meaningful designs. If you display it, treat it like a serious cultural item. If you’re unsure, ask the seller or consult reputable sources (e.g., National Museums of Kenya) about proper care and context.
Legal and safety (UK, 2025): You can own and train with a rungu at home or on private land, but carrying any object in public that could be used as a weapon can be an offense without good reason (see UK Offensive Weapons laws). Transport it discretely in a bag to and from a private training space, and never carry it in public without a clear, lawful reason.
Training area setup:
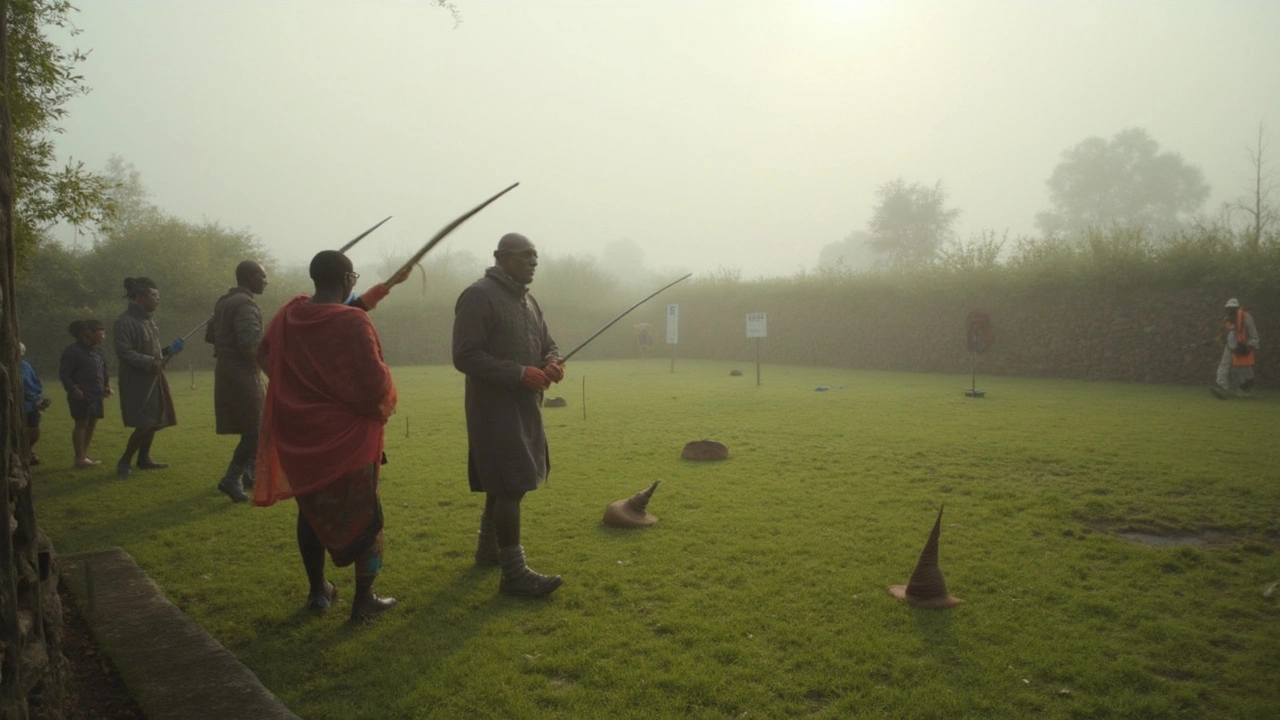
- Space: 10 m clear lane to start; 20 m if you’ll try longer throws.
- Backstop: a thick fence, hay bales, or a heavy canvas hung against a wall to stop bounce-backs.
- Target: start with a 30-35 cm cardboard circle at head height (1.6-1.8 m).
- Safety zone: 5 m empty arc to your sides; nobody in front of you, ever.
- Protective gear: eye protection is smart; gloves optional; warm up shoulders and hips.
Starter purchase tip: Buy or make a trainer with a smooth handle and a small head. You’ll learn faster and save your joints.
| Type | Length (cm) | Weight (g) | Balance point from head (cm) | Best use | Beginner-friendly? |
|---|---|---|---|---|---|
| Compact trainer | 30-40 | 300-500 | 5-8 | Grip, swings, close-range throws | Yes |
| Balanced thrower | 40-55 | 400-650 | 7-10 | Accuracy and distance | Yes, after basics |
| Heavy ceremonial | 50-60+ | 600-900 | 10-14 | Display, advanced conditioning | No |
Step-by-step: grip, stance, swing, and the throw
Do these in order. Don’t rush. Smooth and repeatable beats fast and wild.
1) The grip
- Hold the handle so the head is forward of your knuckles. If there’s a slight taper, the thinner end sits under your ring and little fingers.
- Thumb runs down the handle, pressing lightly, not wrapped over the top. Index and middle fingers pinch the handle; ring and pinky secure the base.
- Wrist neutral: no hard cocking up or down. Think handshake angle. If your wrist aches, you’re gripping too hard.
2) Athletic stance
- Feet shoulder-width. If you throw right-handed, left foot forward (mirror for lefties).
- Knees soft. Hips square to target. Core braced as if someone might poke your ribs.
- Head level. Eyes on a single point on your target, not the whole target.
3) The basic swing (no release)
- Start with the head down at your side. Raise the rungu to shoulder height with elbows close to your body.
- Turn your hips slightly toward your back foot. Then rotate toward the target as your arm comes forward.
- Let the head lead slightly, as if the club wants to swing past your knuckles. Don’t muscle it; guide it.
- Stop the swing with the head pointing at your target. Freeze. Reset. Do 10 slow reps.
Coaching cues: Lead with hips. Keep the elbow under the hand. Finish with the head aimed where you’re looking.
4) The step-throw (release)
- Load: shift 60% of your weight to the back foot. Rungu at shoulder height, head slightly forward.
- Step: small step forward with your front foot, heel-toe, as your hips turn toward the target.
- Whip: forearm follows the hip. The head passes the hand like a hammer throw, not a baseball pitch.
- Release: at eye level, arm slightly bent. Let the handle slide a finger’s width through your grip so it leaves cleanly, no spin wobble.
- Follow-through: palm faces the target; your hand ends about chest height. Finish balanced on your front foot.
Rule of thumb: If the rungu dives low, you released late. If it sails high, you released early. Adjust in 2-3° increments, not big changes.
5) Safety stop and retrieval
- Pause three seconds after each throw. Scan your lane. Only then walk forward.
- Approach the rungu from the side, not straight on, to avoid slips or rebounds.
- Reset your lane before the next throw; don’t throw across clutter.
Common mistakes and quick fixes
- White-knuckle grip: causes wrist pain and wobbly releases. Fix: relax to “6/10” pressure.
- All arm, no hips: weak, inconsistent throws. Fix: start each throw with a hip turn cue (say “hip” out loud).
- Releasing with the thumb wrapped: the rungu sticks in your hand. Fix: thumb down the handle, not over.
- Target staring without point focus: aim drifts. Fix: pick a coin-sized mark on the target.
Drills, practice plans, and progressions
These drills build skill in layers. Keep sessions short and sharp-quality over quantity. Stop if your shoulder gets tired; fatigue ruins form.
Foundational drills
- Wall point drill (5 minutes): Stand 2 m from a wall. Do 3 sets of 10 slow swings with no release. Finish each swing with the head pointing at a small sticker on the wall.
- Target taps (10 minutes): From 3 m, very light throw (underhand power) at a 30-35 cm cardboard circle. Aim for clean straight flight. 3 sets of 8 throws, walk and reset each time.
- Step-throw ladder (10 minutes): Start at 3 m, throw 5; move to 4 m, throw 5; then 5 m, throw 5. If you miss the circle twice in a row, step back in.
Accuracy-first progression
- Goal A: 7/10 hits on a dinner plate at 5 m on two sessions in a row.
- Goal B: 7/10 hits at 7 m, then 9 m. Only increase distance after you hit Goal A consistently.
- Goal C: Add speed after distance is consistent; not before.
Weekly plan (30-45 minutes, 2-3 days/week)
- Warm-up (8 minutes): shoulder circles, band pull-aparts, hip hinges, light shadow swings.
- Main set (20-25 minutes): choice of ladder throws + accuracy drills.
- Cool-down (5 minutes): forearm stretches, pec doorway stretch, light wrist mobility.
Skill-builders once you’re consistent
- Timed accuracy: 10 throws in 90 seconds at 5 m; count quality hits only.
- Angle control: Place two targets 1 m apart. Alternate left and right without moving feet.
- Hip lead isolation: Hands stay near chest; rotate hips first, then extend the arm late.
- Conditioning finisher: 3 rounds of 15 non-release swings each side; rest 60 seconds.
Checklist: Am I ready to add distance?
- Yes to all: 7/10 plate hits at 7 m; no shoulder pain; release feels smooth; follow-through balanced.
- If any “no”: keep distance as-is and fix the weak link with targeted drills.
Pitfalls to avoid
- Throwing tired. Technique collapses and bad habits stick.
- Jumping to a heavy rungu too soon. You’ll add power later; don’t trade it for pain now.
- Training on hard surfaces without a backstop. Richochets happen fast.
Care, specs, buying tips, FAQ, and next steps
Care and maintenance
- Oil: Every 4-6 weeks, wipe with linseed or mineral oil; let dry 24 hours. Avoid heavy varnish that makes the handle slick.
- Storage: Cool, dry, out of direct sun. Don’t leave it in a hot car; wood can warp or split.
- Inspection: Before each session, check for hairline cracks near the head/handle junction. If you see one, retire it from throwing.
- Splinter repair: Sand lightly with 320-grit, oil, and rest 24-48 hours.
Buying guide
- Weight: beginners 350-500 g; intermediates 450-650 g.
- Length: 30-40 cm to start; move to 45-55 cm once your release is clean.
- Handle shape: slightly oval is better than perfectly round; it prevents rolling in your palm.
- Balance: when you balance the rungu on a finger, the balance point should be 5-10 cm behind the head for throwing models.
| User | Suggested length | Suggested weight | Starting distance | Target size |
|---|---|---|---|---|
| Beginner | 30-40 cm | 350-500 g | 3-5 m | 30-35 cm circle |
| Intermediate | 40-50 cm | 450-650 g | 5-9 m | 25-30 cm circle |
| Advanced | 45-55 cm | 500-700 g | 9-12 m | 20-25 cm circle |
Mini-FAQ
- Is the rungu supposed to spin in flight? A clean throw has minimal yaw and a gentle, nose-forward path. Some rotation is normal, but wobble means a poor release.
- How hard can I throw? As hard as your form allows without losing plate-level accuracy. If accuracy drops below 6/10, reduce speed.
- What target material is best? Cardboard on foam, a ply board with a hanging canvas, or hay bales. Avoid just brick or metal-bad bounces.
- Can I practice indoors? Yes with a compact trainer, soft target, and a solid backstop. No full-power releases indoors.
- Is left-hand training useful? Yes. Do non-release swings both sides; it balances your shoulders and improves hip timing.
Troubleshooting by symptom
- Rungu fishtails mid-air: Your release twists. Cue “thumb straight” and relax grip to 6/10.
- Always lands low: Release is late. Release a fraction earlier or raise your aim point 5 cm.
- Shoulder soreness: Too heavy, too soon, or no warm-up. Drop 100-150 g, reduce volume by 30%, add band work.
- Bounces back dangerously: Target is too hard or at a steep angle. Add a soft backstop and stand slightly off-line.
Next steps
- Beginners: Spend two weeks with non-release swings and short throws at 3-5 m. Log your sessions.
- Coaches/club leads: Build a lane with cones and a big backstop; run safety briefings every session; set a 7/10 accuracy standard before distance.
- Reenactors/cultural educators: Pair training with credible sources (e.g., Museum of African Art catalogs, National Museums of Kenya notes) and explain context before demos.
- Home trainers (UK): Keep it on private property, transport in a bag, and don’t carry it in public without a lawful reason.
Final tip: Film a side view at 60 fps on your phone. Watch your hip turn, elbow path, and release point. Fix one thing per session. Small, steady improvements beat any one-off “big throw.”

